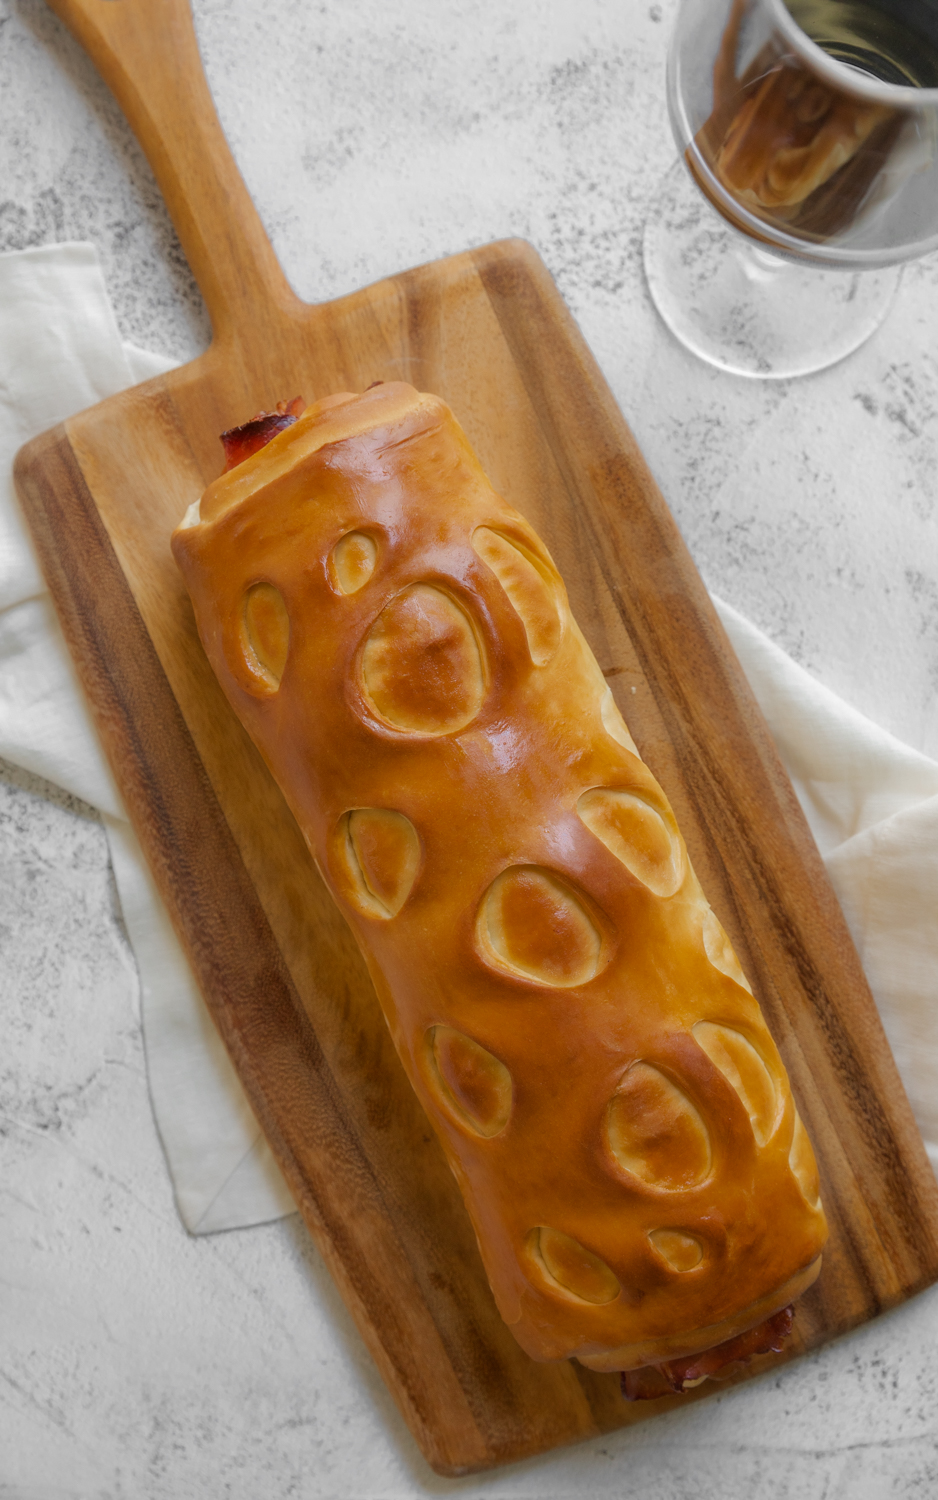
This bread is a Venezuelan creation from the early twentieth century whose consumption and manufacture little by little became a Christmas custom until it became essential every December.
The ham bread recipe is attributed to Gustavo Ramella, owner of a bakery located on the corners of Marcos Parra and Solís in the city of Caracas in December 1905.
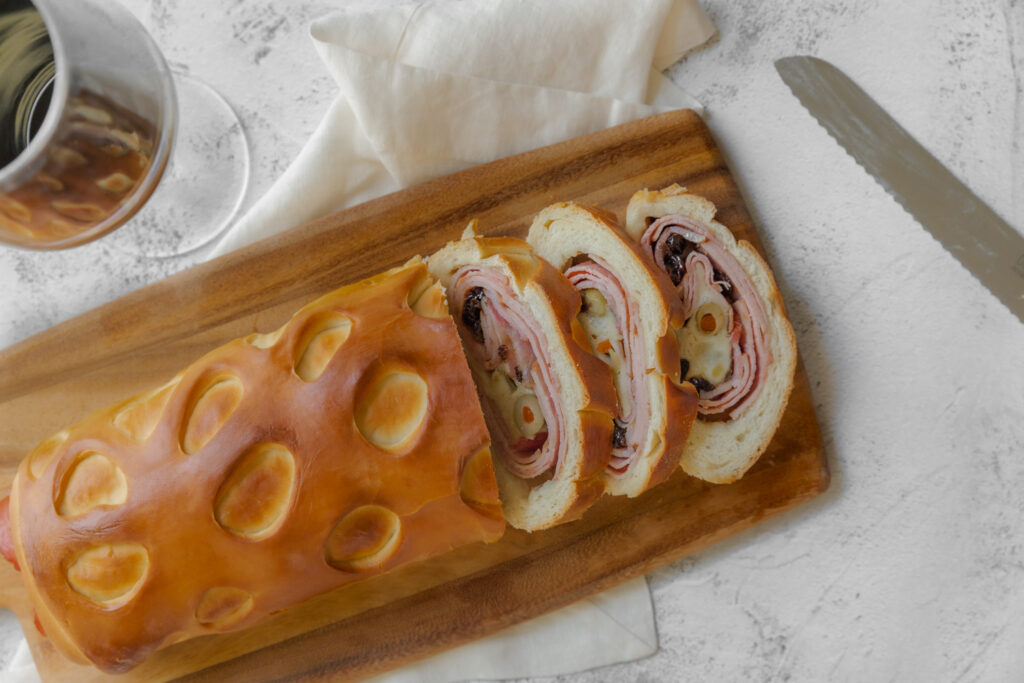
LET’S COOK
- Prep Time: 2h 40 min.
- Cook Time: 40-45 min.
- Total Time: 3h 40 min.
- Yield: 14 Slices.
INGREDIENTS:
➢ 287g. of bread flour.
➢ 121g. of water.
➢ 3g. of yeast.
➢ 6g. of salt.
➢ 29g. of sugar.
➢ 26g. of egg.
➢ 29g. of unsalted butter.
➢ 450g. of ham.
➢ 150g. of green olives.
➢ 120g. of raisins.
➢ 30g. of brown sugar
INSTRUCTIONS:
1. Heat the water a little, it should be warm, add the sugar and stir until it dissolves, then integrate the instant yeast into this mixture, stirring it until it is all moistened. Let stand for 5 to 10 minutes, so that you can see bubbles on top of the mixture, and it has increased in size. This means that the yeast is in good condition and ready to use.
2. Place in the bowl of the mixer, the previous mixture and on top add the flour, salt, and eggs. Start beating in first speed for 3 or 4 minutes until the ingredients are well integrated, in this way the gluten begins to form.
3. Add the butter at room temperature (smooth). Go up to second speed and let it beat until the dough absorb it completely, from that moment, let it beat for 8 minutes or so. The dough should be smooth and soft, it should not stick to your hands.
4. Place the dough on the table and roll it into a ball between both hands until the dough looks smooth on top. Let stand covered for 10 minutes.
5. Grease the surface where you are going to stretch the dough a little with butter.
6. Roll out the dough into a rectangle of about 30 X 45 cm for this amount of dough (500 g). To get a size reference of your bread, you must measure the width of your tray that will be the same width of your bread. About 3 to 4 ham loaves are placed on a medium tray at the same time.
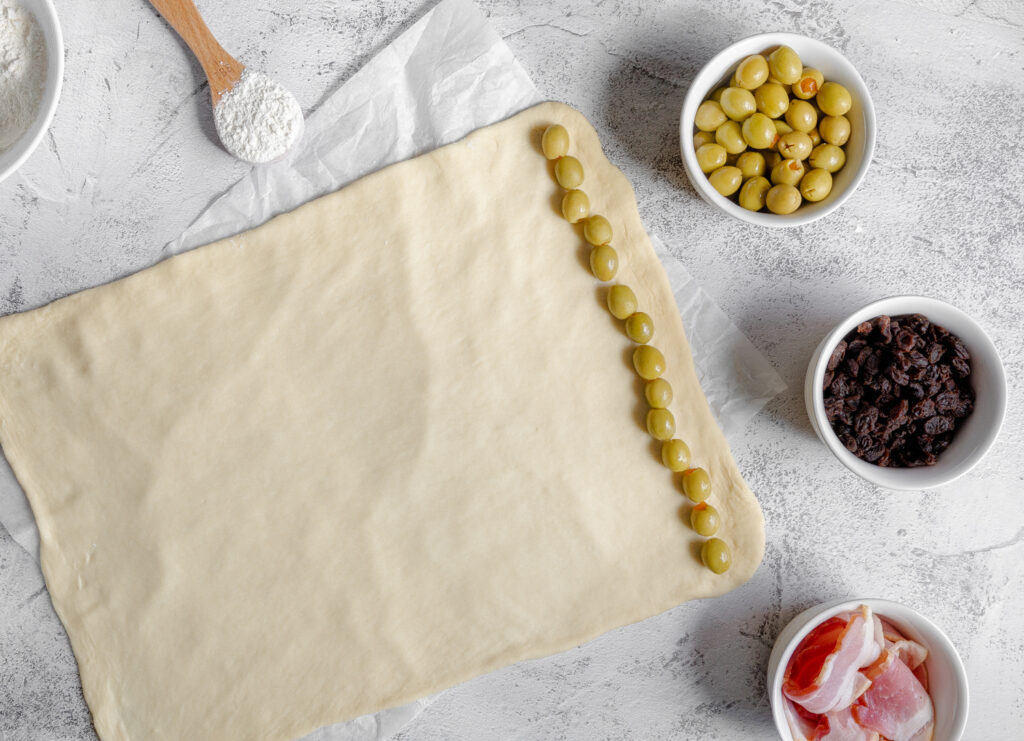
7. We are going to roll up the longest part. At one end, we place a row of olives (as seen in the photo), cover with the dough. This is done to get a piece of olive in each slice of bread. If you like olives, you can add additional ones when sprinkling the raisins.
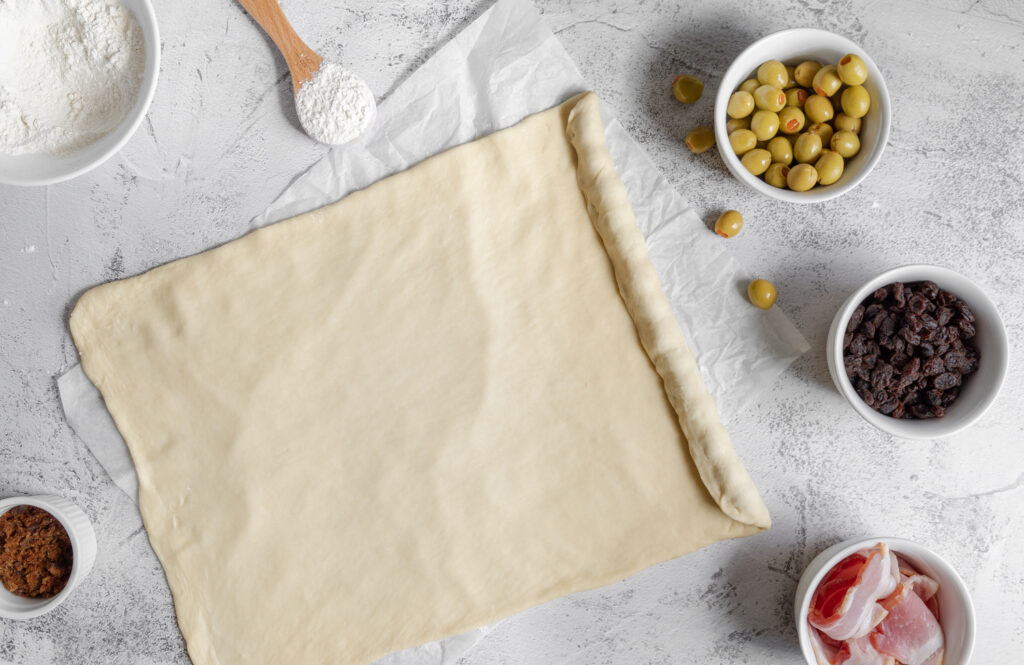
8. We heat the ham a little in the microwave, then we pass it a paper towel to remove the released water. We begin to place the slices on top of the line of olives, leaving half outside the dough and the other half inside. We recommend leaving about two fingers of ham on each side of the bread (width). The ham should reach half or a little more, you must leave space to continue incorporating the other ingredients.
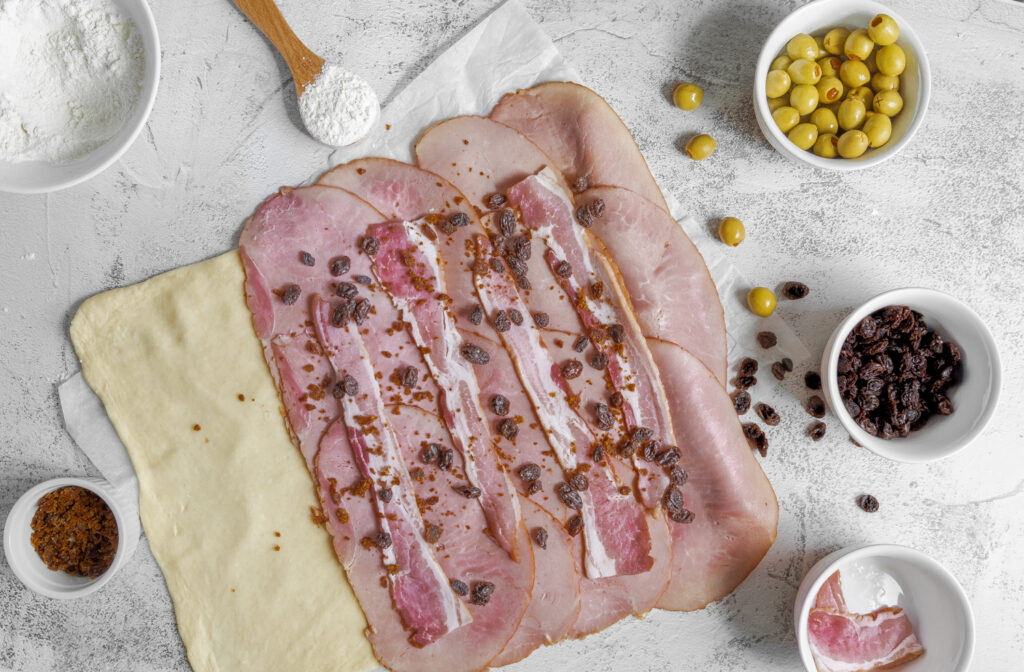
9. Place the smoked bacon across the bread. You can put it as it comes in the package, or you can cook it a little to remove some of its fat. We spread the brown sugar and the raisins (to taste). In this step you can add more olives if you want.
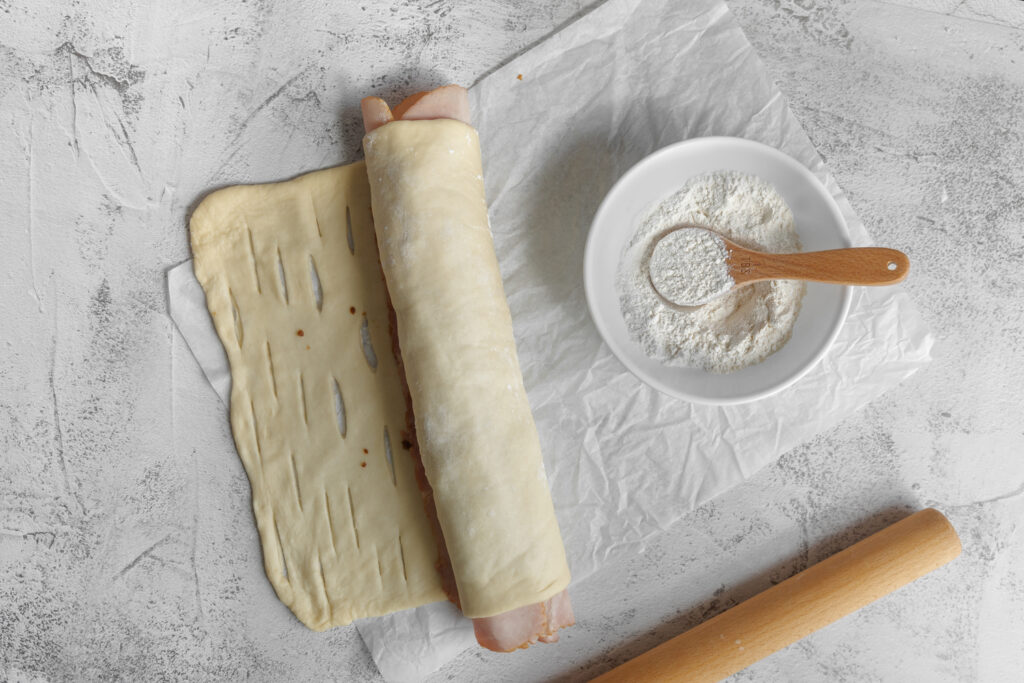
10. We start to roll from where the line of olives is towards the center where the ham ends, exerting a little pressure when doing it.
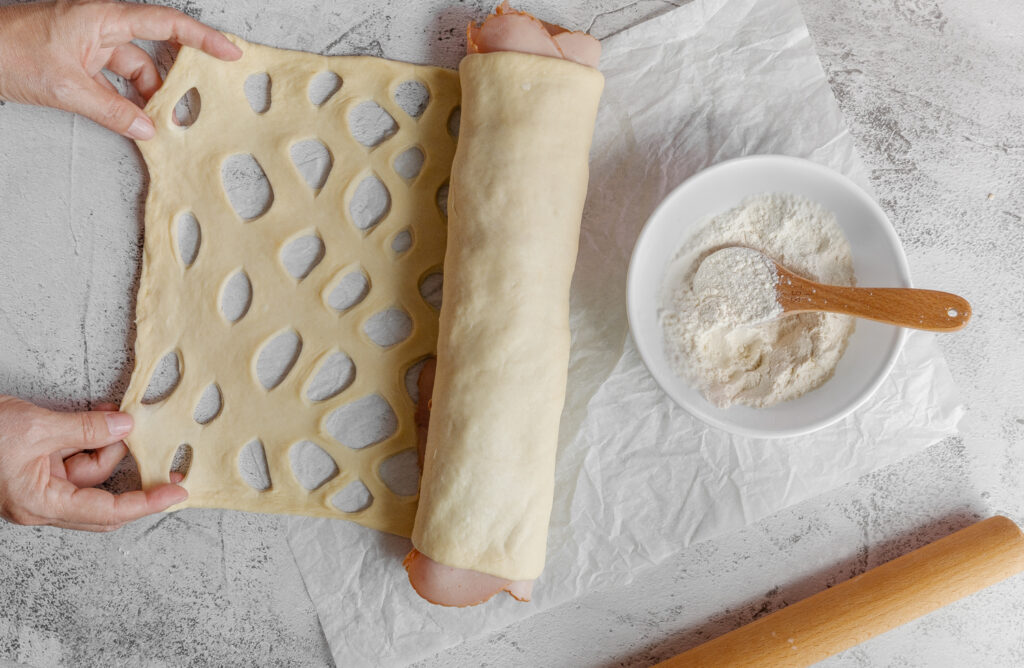
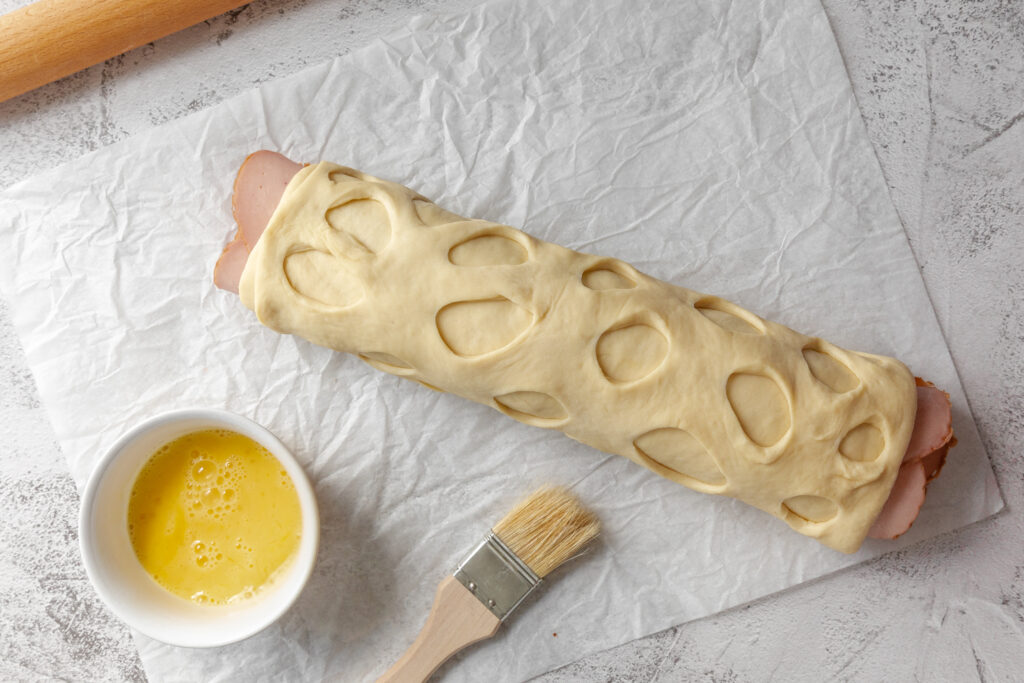
11. With a pizza cutter knife, or special roller cutter we make the cuts in the lower part to make the mesh. Stretch a little to open the gaps and finish rolling to the end.
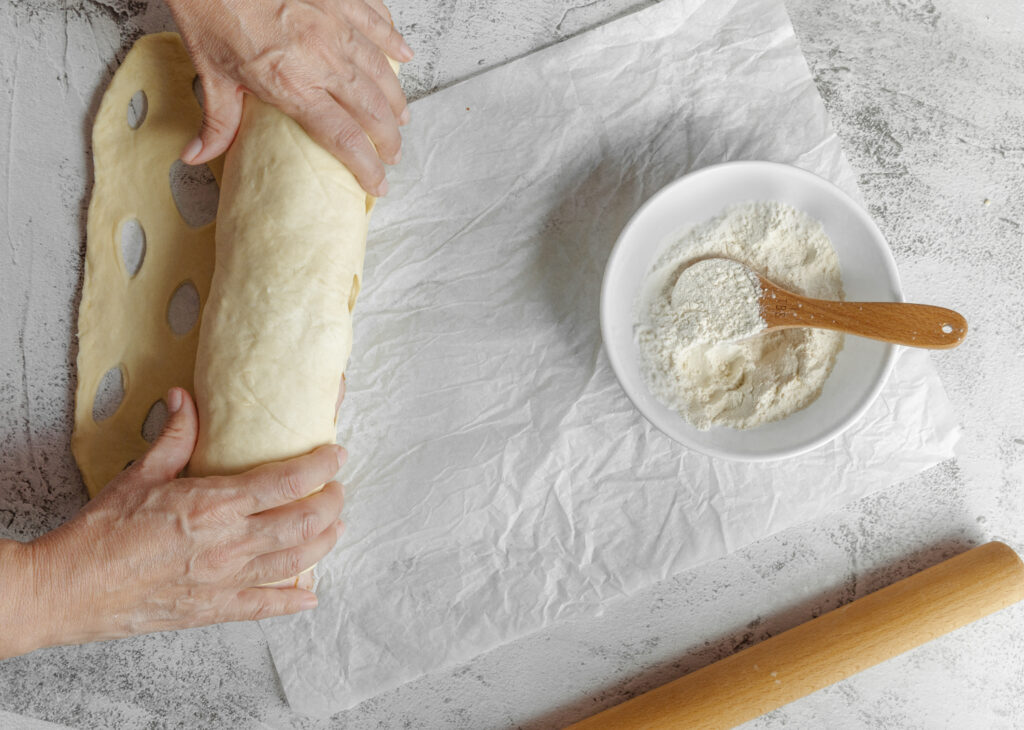
12. Place on a tray, cover with plastic wrap or a bag and leave to rise for one and a half hour to two hours depending on the environment. The important thing here is that the bread doubles its size. If it is very cold the environment can last more than 2 hours raising and if it is too hot, it can take much less.
13. Preheat the oven to 180 degrees Celsius (350 degrees Fahrenheit)
14. With a long toothpick like the one used for brochettes, make holes in the surface that penetrate halfway through the bread. The purpose of this is to help the internal steam of the bread escape through these holes and the internal cooking is conducted at the best feasible way, without there being moisture inside the bread due to the ham and bacon.
15. Bake for about 40-45 minutes. The time depends on each oven. My advice is that after the bread has been in the oven for 25 minutes, begin to observe the bread every 5 minutes to verify the surface cooking. If you see that it still does not have the golden color, left to continue baking it for another 5 minutes and so on until it completes its time and acquires the characteristic color. On the other hand, if after 25 minutes you see that it is golden brown, place aluminum foil on top of the bread to prevent it from dark browning and leave it in the oven to finish its cooking time. The most advisable is to use a stick thermometer and prick the bread to see its internal temperature. This should be around ninety-three degrees Celsius to be sure that the bread is cooked correctly inside.
16. You can brush with melted butter on top to give it a shine on the surface as soon as it comes out of the oven.
17. Place on a rack to cool it down and leave them between 30-45 minutes before cutting them.
AND...BUON APPETITO
WE HOPE YOU ENJOY THIS RECIPE AS MUCH AS WE DO. IF YOU HAVE ANY QUESTION, DO NOT HESITATE TO ASK IT AND WE WILL BE GLAD TO ANSWER YOU.
Did you try it the recipe? We would love you to share it with us.
Mention @Temptationsbite on Instagram or use the hashtag #temptationsbiterecipe

